
Professional Installation
Convenient Service
Trailer Hitches
Bike Racks
Running Boards
Roof Rails

2017–2022 Jeep Grand Cherokee WK2 Hitch Installation
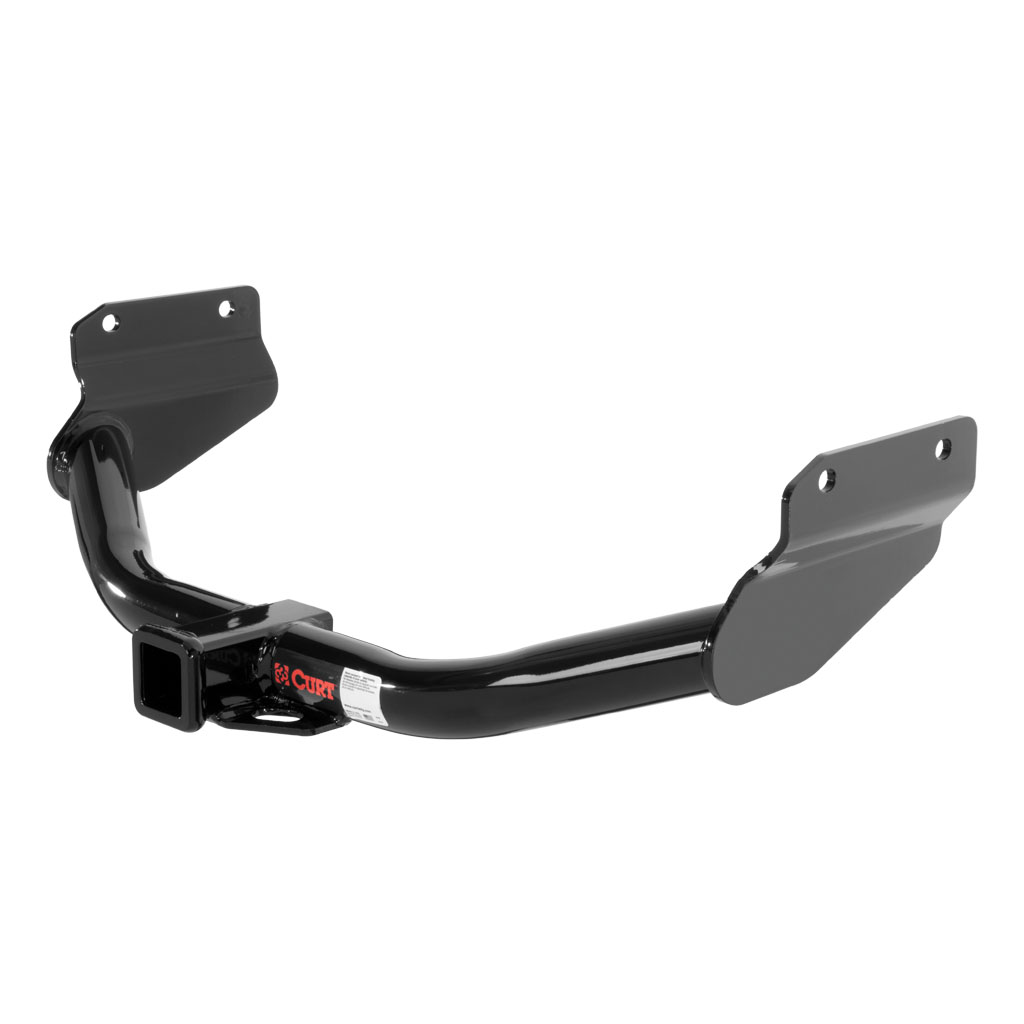
Receiver: 2-inch Class 3
Fitment: 2017–2021 Grand Cherokee WK2 and 2022 Grand Cherokee WK
Excludes: SRT, SRT8, and Trackhawk
Published hitch rating: Up to 6,000 lb trailer / 600 lb tongue
Installation includes: Mounting-area inspection, application-specific hardware, proper tightening sequence, torque verification, underbody reassembly, and receiver-clearance inspection
Important: The vehicle’s equipment and owner’s manual always determine the usable towing limit
The WK2 Grand Cherokee hitch uses four existing M14 frame bolts and requires no drilling. Gas models provide direct access to those mounting points. Diesel models add a significant step because the passenger-side fasteners sit above the diesel exhaust fluid tank, which must be supported and lowered without disconnecting its filler pipe.
1. Identifying the WK Body and Inspecting the Mounting Area
Because Jeep sold both WK and WL body styles during the 2022 model year, the rear structure is confirmed before installation. The frame rails, existing weldnuts, factory bolts, and any tow loop are inspected before the receiver is raised.
2. Supporting and Lowering the DEF Tank on Diesel Models
The DEF tank can weigh as much as 80 pounds, so it is fully supported before its fasteners are loosened. The passenger-side electrical connector and retaining clips are released, the rear stud posts and forward bolts are removed, and the tank is rotated downward only far enough to reach the frame bolts. The filler pipe remains connected.
3. Removing and Preparing the Factory Frame Hardware
The vehicle may have four or six M14 bolts in the frame rails. Four are retained for the hitch installation, while any extras are returned to the owner. A factory tow loop is removed when present. If excess body caulk prevents the receiver from sitting flat against the frame, only the interfering material is trimmed away.
4. Raising the Receiver and Torquing the M14 Bolts
The hitch is lifted against the frame rails and aligned with the existing weldnuts. The four retained M14 bolts are started by hand to protect the threads, tightened evenly so the hitch seats flat, and then torqued to 126 lb-ft. No holes are drilled and no loose hardware is placed inside the frame.
5. Restoring the DEF Tank and Electrical Connection
On diesel models, the tank is raised back into position after the hitch is secure. The stud posts are tightened to 21 lb-ft, the forward tank bolts to 24 lb-ft, and the electrical connection and retaining clips are restored.
6. Final Clearance Inspection
The receiver is checked for alignment, the hitch plates are confirmed flush against both frame rails, and the exhaust, DEF tank, spare tire, and rear fascia are inspected for clearance. The installed receiver remains below the bumper with no fascia removal required.