
Professional Installation
Convenient Service
Trailer Hitches
Bike Racks
Running Boards
Roof Rails

2021–Present Jeep Grand Cherokee WL & Grand Cherokee L Flat-4 Wiring Installation
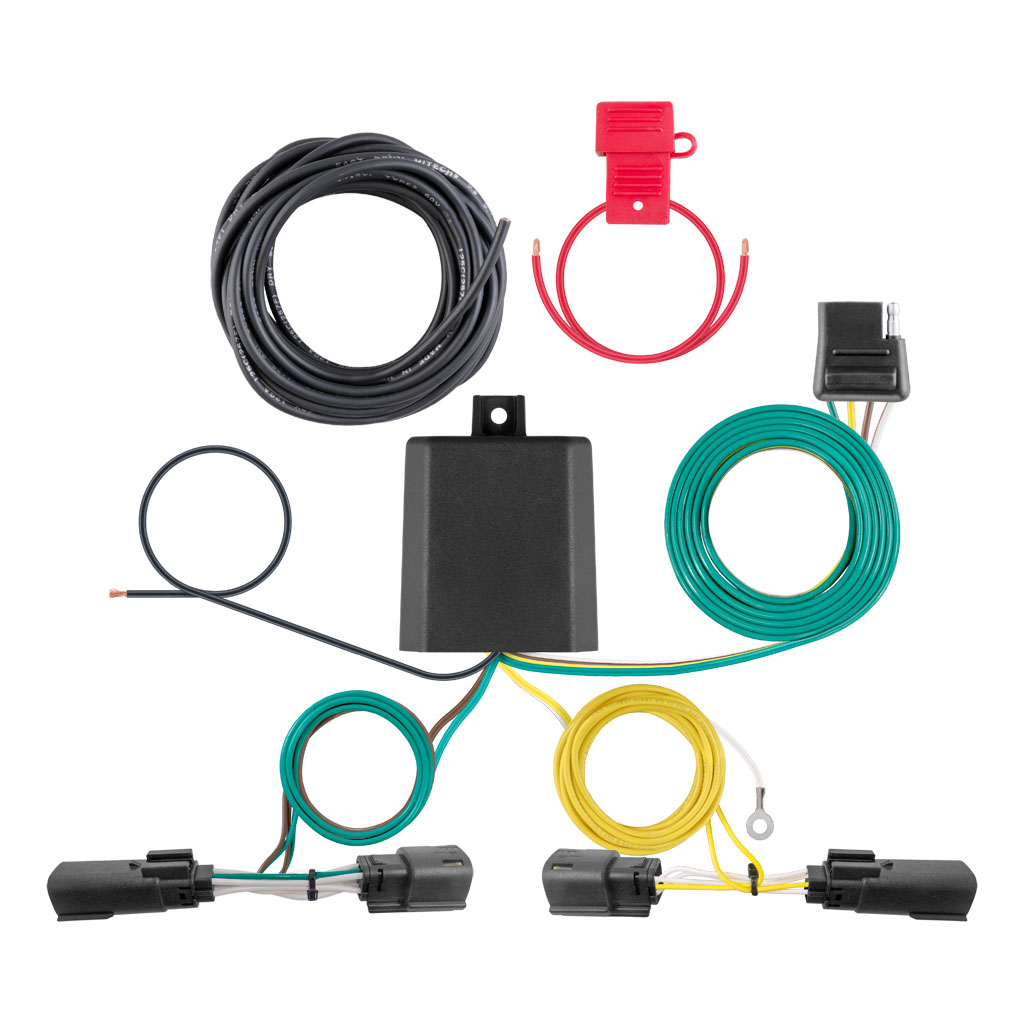
Output: Flat-4 trailer-light connector
Connection method: Vehicle-specific plug-in connections; no factory lamp wires cut
Power: Dedicated fused battery connection
Final connector location: Outside the vehicle at the hitch
Connector mounting: Compact magnetic hitch mount selected to preserve bumper fit
Installation includes: Trim and lamp access, protected wire routing, converter and ground mounting, weather-resistant connections, secure reassembly, and complete function testing
The current Grand Cherokee wiring system connects behind both taillights, crosses behind the bumper, and receives its own fused power supply from the battery. The finished flat-4 remains outside at the hitch, but a conventional bracket cannot be used because it interferes with the bumper cover. We use a compact magnetic mount instead.
1. Disconnecting the Battery and Removing Both Taillights
The negative battery terminal is isolated before electrical work begins. At the rear, each taillight trim panel and push fastener is removed, followed by the T-27 retaining screw. The taillight must be drawn outward at the correct angle so its alignment tabs are not broken. The factory connectors are separated without damaging their locking tabs.
2. Pulling the Harness Through the Blind Bumper Passages
A pull wire is routed between the body and bumper cover on both sides. The passenger-side branch is attached to the pull wire from below and drawn into the taillight cavity, where it plugs between the factory harness and lamp. The driver-side branch is routed above the bumper mounts and across the rear structure before being pulled into the opposite taillight cavity.
3. Securing the Converter and Establishing a Clean Ground
The converter and excess wiring are secured above the bumper structure, away from exhaust heat, road debris, and places where the fascia could pinch the harness. The ground terminal is fastened to clean bare metal at an existing structural fastener or an approved grounding point so the module has a dependable return path.
4. Routing the Fused Battery Power Lead
A dedicated 12-gauge power wire is routed from the rear module to the battery. It is secured along the chassis and kept away from exhaust components, suspension movement, steering components, pinch points, and sharp sheet-metal edges. Any sheet-metal pass-through is protected with an existing grommet, an added grommet, or sealant before the fused battery connection is completed.
5. Finishing the Exterior Flat-4 with a Magnetic Mount
The trailer connector is positioned near the receiver for easy access. Traditional flat-4 brackets sit too high or too far forward on this bumper and can prevent the fascia from locking back into place. The magnetic mount keeps the connector outside and accessible without trapping it between the hitch and bumper cover.
6. Circuit Testing and Reassembly
After power and ground are connected, we test running lights, brake lights, left turn, right turn, and ground integrity at the flat-4. The connector is checked for secure retention and safe distance from the exhaust before both taillights, trim panels, and battery connection are restored.