
Professional Installation
Convenient Service
Trailer Hitches
Bike Racks
Running Boards
Roof Rails

2017–2018 Jeep Wrangler JK Flat-4 Wiring Installation
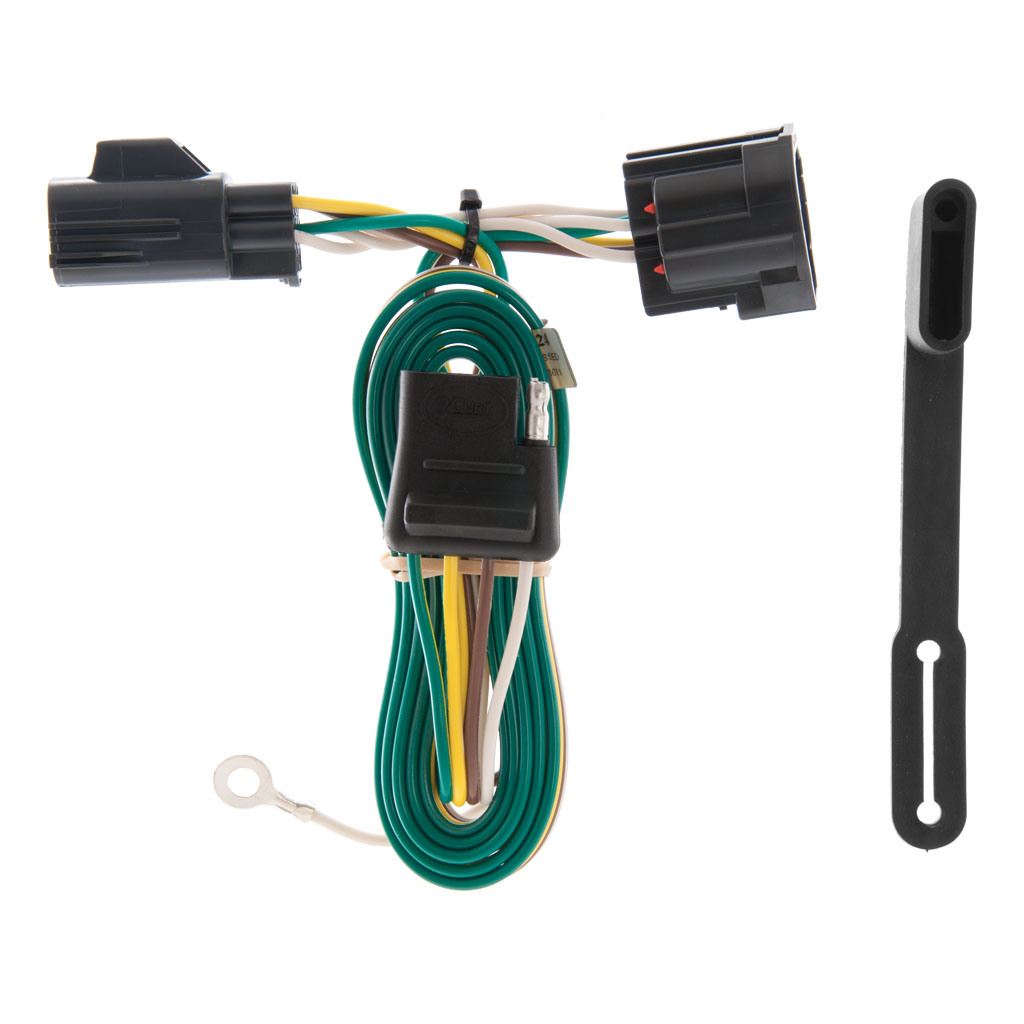
Output: Flat-4 trailer-light connector
Connection method: Plug-in connection behind the driver-side taillight
Final connector location: Outside the vehicle at the hitch
Connector holder: Compact receiver-mounted flat-4 holder
Excludes: Right-hand-drive models
Installation includes: Lamp removal, protected rear routing, connector retention, secure reassembly, and complete lighting tests
The Wrangler JK flat-4 harness connects behind the driver-side taillight and does not require a powered converter or a separate wire to the battery. The trailer connector is routed outside to the center of the hitch and retained in a compact receiver-mounted holder.
1. Disconnecting the Battery and Removing the Driver Taillight
The negative battery terminal is isolated before the lamp connector is opened. The driver-side taillight retaining screws are removed and the lamp is moved outward far enough to reach the factory wiring without straining the connector.
2. Separating the Factory Lamp Connector
The body-side and lamp-side connectors are released by their locking tabs rather than pulled by the wires. The vehicle-specific branch is inserted between them, creating the trailer-light connection without cutting, probing, or splicing the factory harness.
3. Establishing the Chassis Ground
The white ground wire is attached near the lamp at an existing structural fastener or an approved grounding point. Paint, dirt, and corrosion are removed from the contact area so the ring terminal seats directly against clean metal.
4. Routing the Flat-4 to the Center of the Hitch
The output lead is carried downward behind the body and toward the receiver. It is secured above the lowest rear components and kept away from exhaust heat, sharp edges, suspension movement, and any path where the spare tire could pinch it.
5. Mounting the Exterior Connector
The flat-4 is placed in the compact receiver-mounted holder rather than left loose below the bumper. The dust cover remains accessible and the wire retains enough slack for connection without forming a loop that can drag on the road.
6. Testing and Restoring the Taillight
Running lights, brake lights, left turn, right turn, and ground integrity are tested at the connector. The taillight is then reinstalled, the battery is reconnected, and the exterior route is checked one final time. This application is limited to left-hand-drive JK models.