
Professional Installation
Convenient Service
Trailer Hitches
Bike Racks
Running Boards
Roof Rails

2018–Present Jeep Wrangler JL Flat-4 Wiring Installation
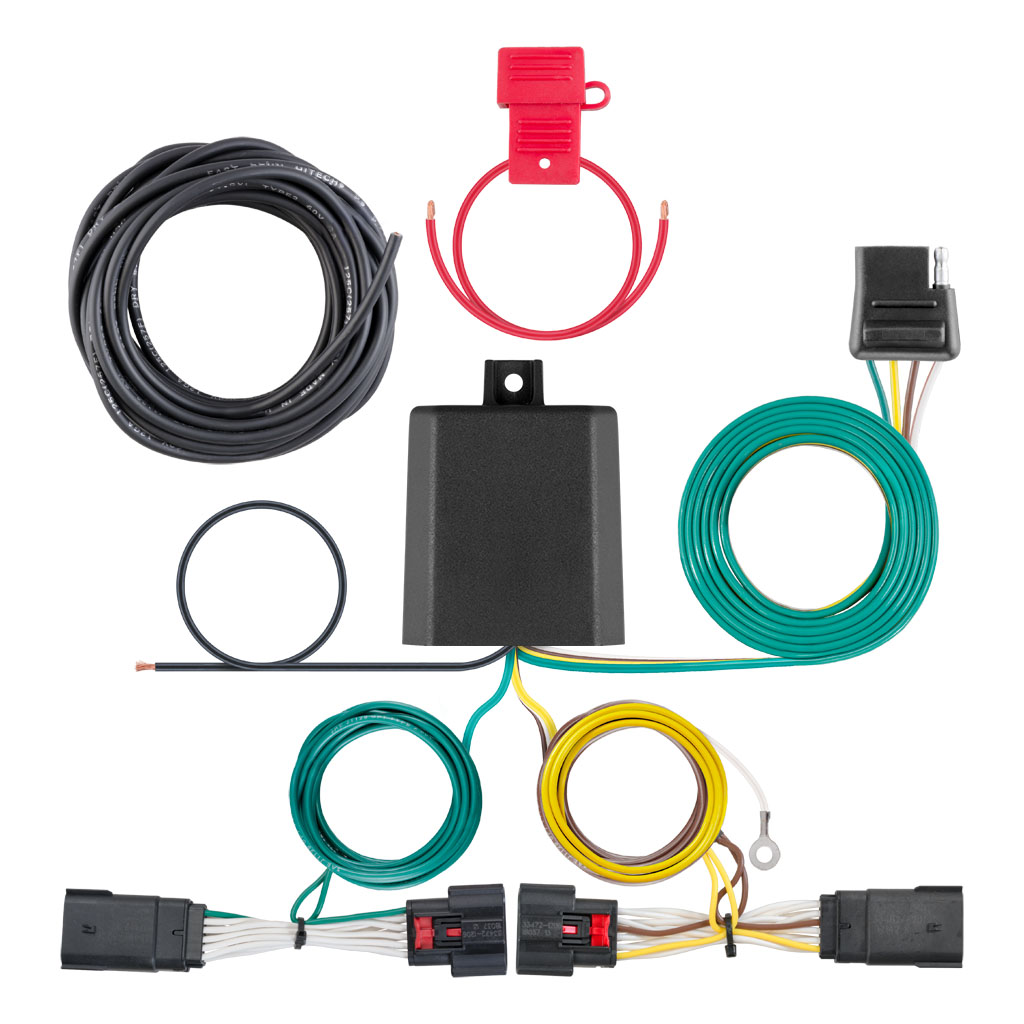
Output: Flat-4 trailer-light connector
Connection method: Vehicle-specific rear-lamp plugs; no factory lamp wires cut
Power: Dedicated fused battery connection
Final connector location: Outside the vehicle at the hitch
Connector holder: Compact receiver-mounted flat-4 holder
Installation includes: Lamp removal, protected wire routing, converter and ground mounting, weather-resistant connections, reassembly, and circuit-by-circuit testing
The Wrangler JL wiring installation connects behind both taillights and places the powered converter and trailer connector outside near the receiver. A dedicated fused wire carries trailer-light power from the battery, so the Jeep’s lamp circuits provide switching signals rather than the trailer’s electrical load.
1. Disconnecting the Battery and Opening Taillight Access
The negative battery terminal is isolated before the rear lamps are disconnected. Small access covers inside the tailgate area are removed, the lamp retaining fasteners are released, and each taillight is drawn straight rearward without damaging its alignment tabs or connector locks.
2. Installing the Driver-Side Plug-In Connection
The driver-side branch plugs between the factory body connector and taillight. The connection is fully seated and locked, then the harness is routed downward behind the body rather than pinched between the lamp and sheet metal.
3. Crossing the Rear Structure to the Passenger Taillight
The passenger-side branch is secured behind the rear bumper and carried across the vehicle above the hitch and away from the exhaust. It is routed up to the passenger lamp and connected between the factory harness and taillight, leaving only the controlled slack required for service.
4. Mounting the Converter and Ground
The powered module is attached in a protected location where it will not be struck by road debris or trapped by the bumper. The ground terminal is fastened to clean bare metal so the converter and trailer lights have a dependable return path.
5. Routing the Fused Battery Feed
A dedicated power wire is routed forward along the frame, protected at sheet-metal crossings, and secured away from the exhaust, driveshaft, suspension travel, and pinch points. The fuse holder is installed near the battery and the fuse is added after the remaining connections are complete.
6. Finishing and Testing the Exterior Flat-4
The flat-4 is retained in the compact receiver-mounted holder so it remains outside and ready for use without hanging below the bumper. We test running lights, brake lights, left turn, right turn, power, and ground before restoring both lamps and reconnecting the battery.