
Professional Installation
Convenient Service
Trailer Hitches
Bike Racks
Running Boards
Roof Rails

Mazda CX-9 (2016–2023) Hitch Installation
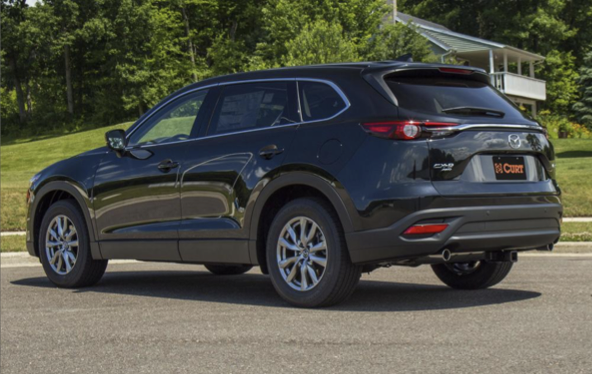
The CX-9 installation begins by removing the lower rear trim panel and temporarily lowering the exhaust. Carriage bolts and reinforcement spacers are fishwired through the enclosed frame rails before the hitch is raised and secured. The exhaust is restored and alignment and clearance are checked.
Towing Capacity: 3,500 lbs
Tongue Weight: 600 lbs
Installation Time: Typically up to 1 hour
Ready to Get Your Vehicle Set Up?
Skip the shop. Skip the wait.
Get your vehicle ready for lake days, mountain weekends, and family adventures — with professional installation completed at your home.
1. Removing the Lower Rear Trim
We remove the lower trim panel beneath the rear bumper to open the installation area. Because that panel is not reinstalled after the receiver is fitted, it is kept intact and returned to the vehicle owner.
2. Lowering and Supporting the Exhaust
The rear exhaust is temporarily lowered from its rubber hangers and safely supported. This creates the working room needed above the exhaust and beneath the bumper structure without placing strain on the exhaust system.
3. Fishwiring the Enclosed Frame Rails
Carriage bolts and reinforcement spacer blocks are guided through frame access holes with specialized fishwires. Each piece is drawn into the correct mounting location inside the CX-9’s enclosed frame rails.
4. Raising, Aligning, and Securing the Hitch
The receiver is lifted into place while the fishwires are guided through its mounting holes. Once the hitch is aligned against the frame, the hardware is installed and tightened to the manufacturer’s torque specifications.
5. Exhaust Restoration and Final Inspection
The exhaust is returned to its rubber hangers and checked for proper clearance. We finish by inspecting receiver alignment, mounting security, surrounding components, and the overall appearance of the installation.