
Professional Installation
Convenient Service
Trailer Hitches
Bike Racks
Running Boards
Roof Rails

Subaru Outback (2010–2019) Hitch Installation
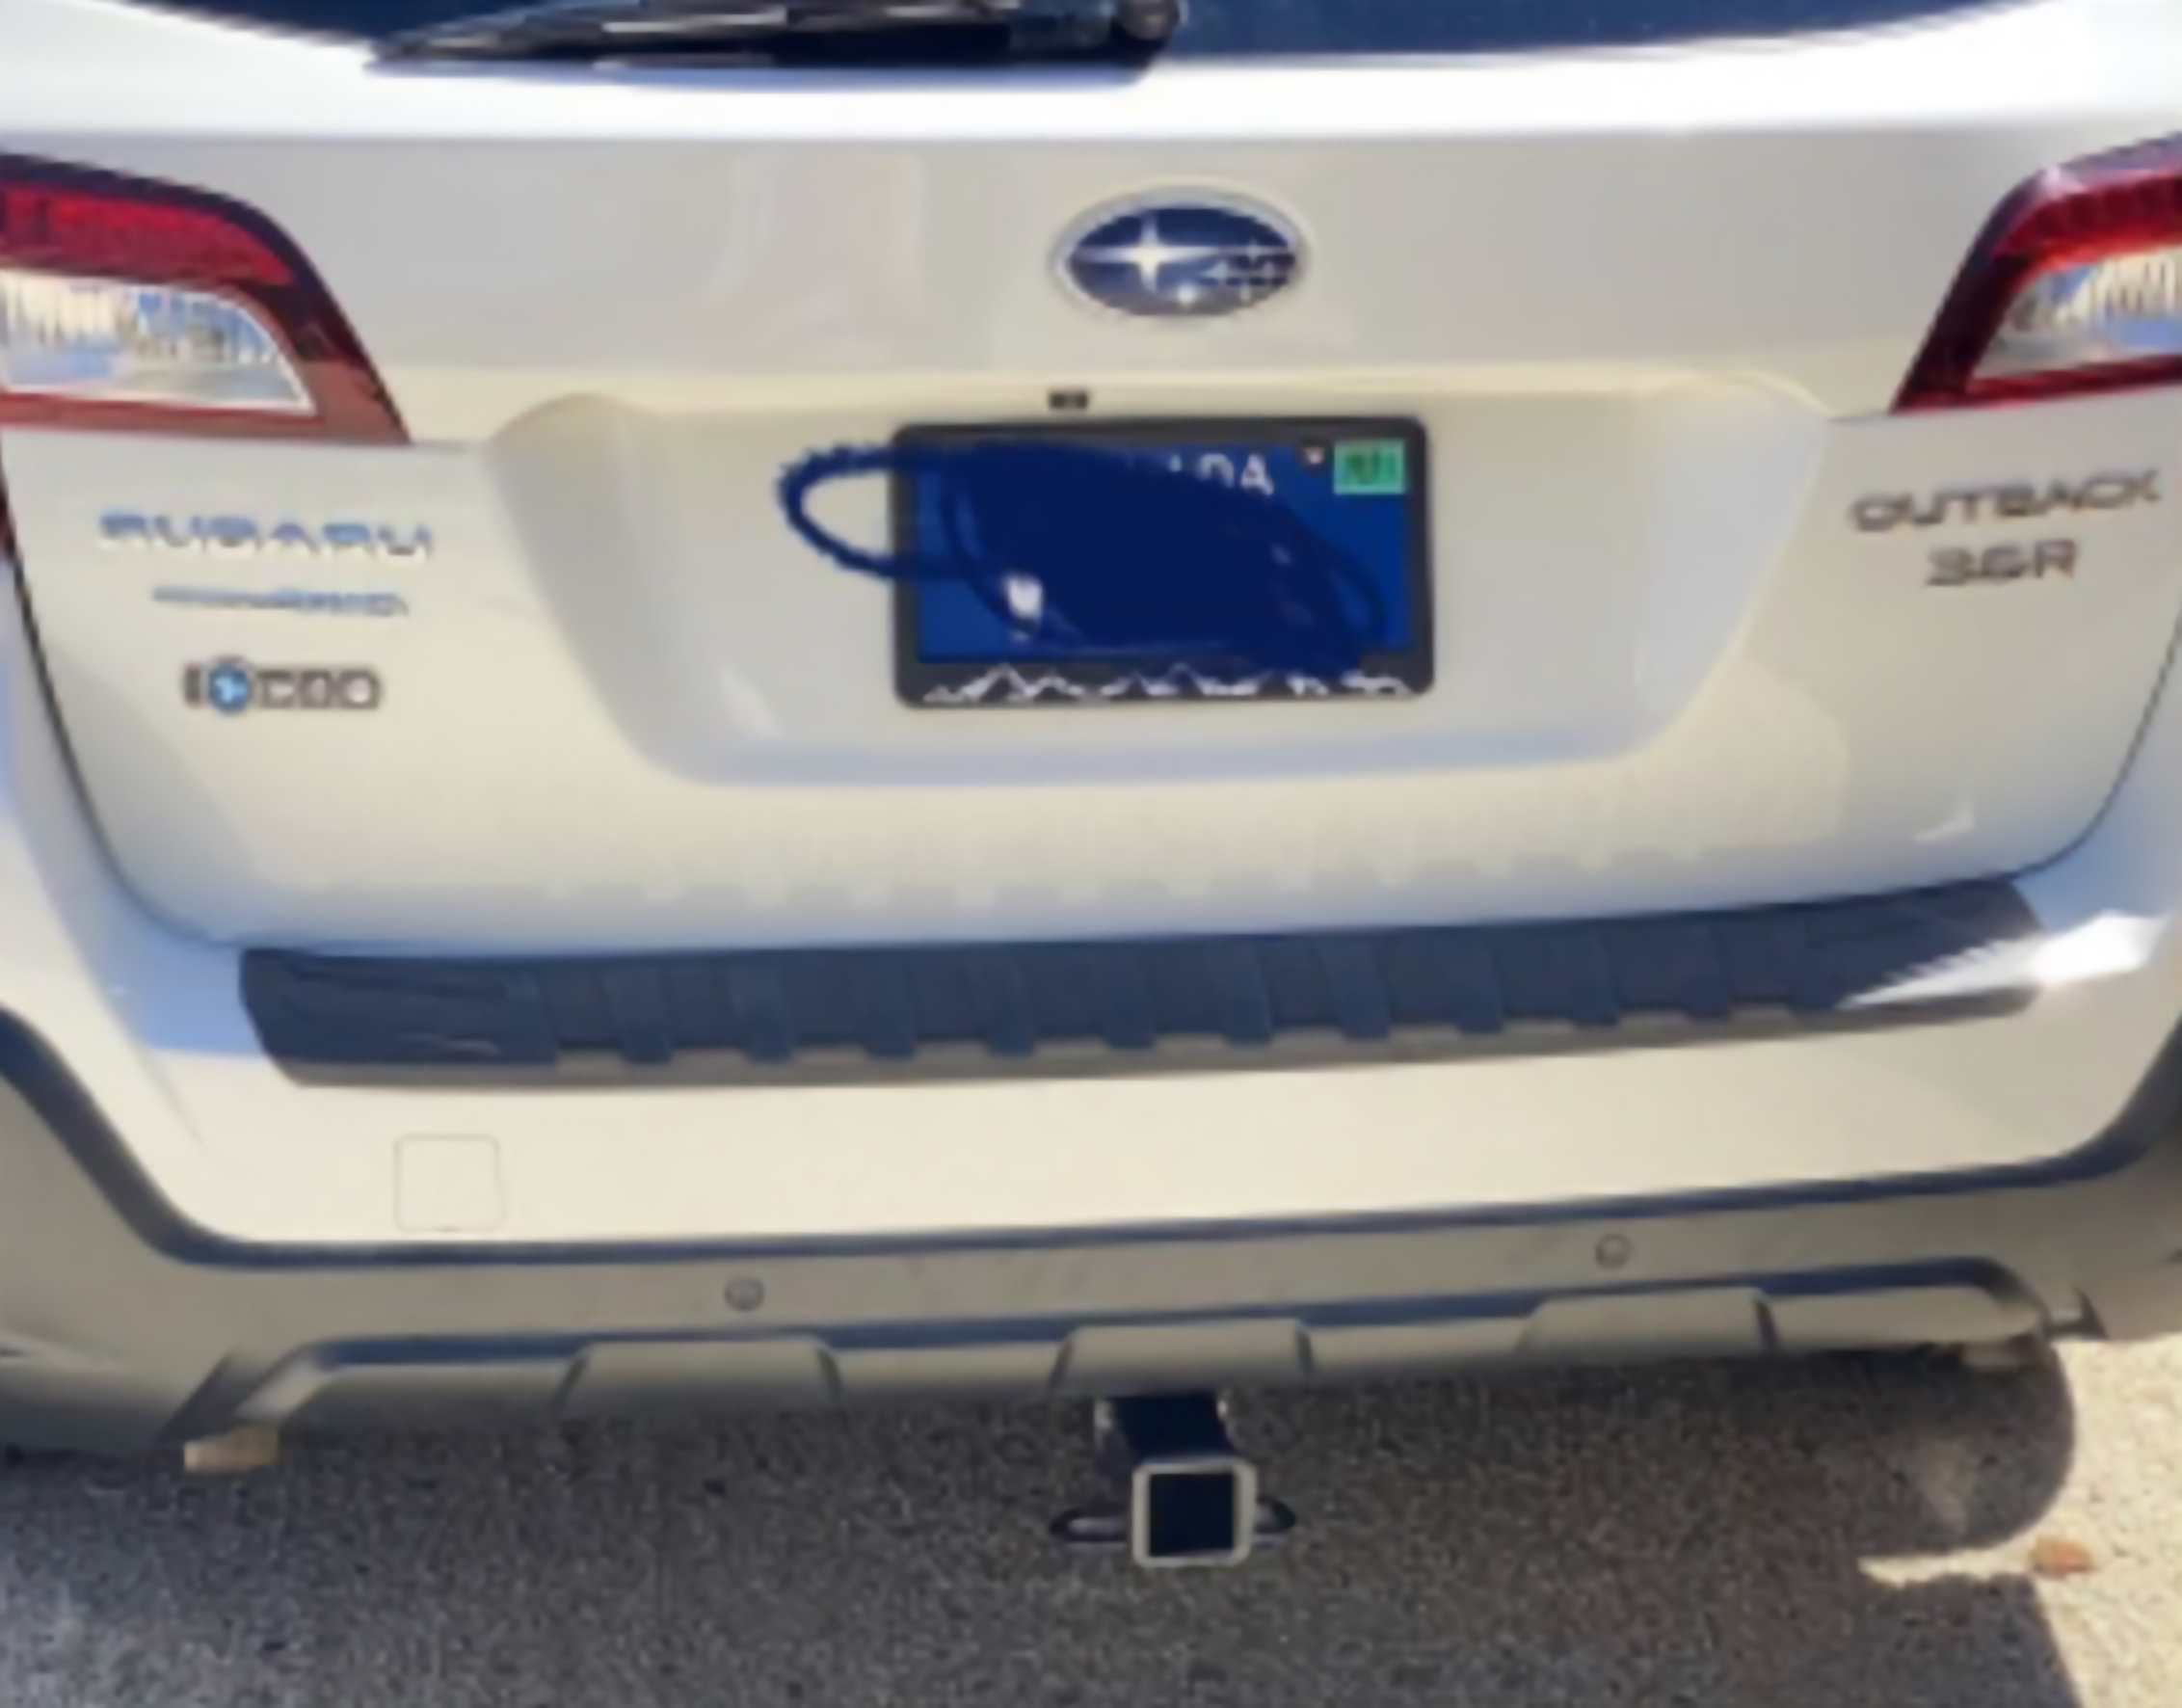
Installation requires removing the taillights and bumper cover, then temporarily removing the factory bumper beam. The hitch fits between the frame and reinforcement beam; because it occupies the foam absorber’s space, that foam cannot be reinstalled. The beam, fascia, lighting, mud flaps, and trim are restored after the hitch is secured and torqued.
Towing Capacity: 4,000 lbs
Tongue Weight: 600 lbs
Installation Time: Up to 1.5 hours
Ready to Get Your Vehicle Set Up?
Skip the shop. Skip the wait.
Get your vehicle ready for lake days, mountain weekends, and family adventures — with professional installation completed at your home.
1. Removing the Taillights
The taillights are removed carefully to reach the fasteners securing the upper edge of the rear bumper cover.
Electrical connections, mounting hardware, and surrounding trim are protected for correct reassembly.
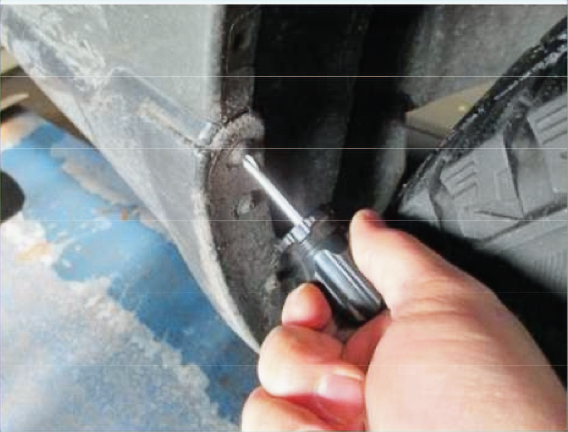
2. Releasing the Rear Bumper Cover
Fasteners inside the rear wheel wells, along the top of the bumper, and beneath the vehicle are removed.
The bumper cover is then released from the body carefully and placed aside without damaging its clips or painted surfaces.
3. Removing the Foam Energy Absorber
With the bumper cover removed, the factory foam energy absorber is taken out to expose the bumper-beam mounting bolts.
The hitch occupies the foam absorber’s original space, so that foam component cannot be reinstalled once the hitch is mounted.
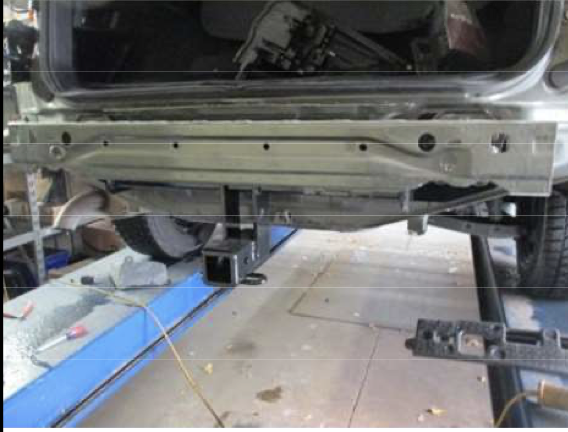
4. Removing the Factory Bumper Beam
The factory bumper beam is unbolted and temporarily removed, exposing the vehicle’s structural mounting points.
The retained factory hardware and beam are kept ready for reinstallation over the hitch.
5. Mounting and Torquing the Hitch
The hitch is positioned between the frame and factory bumper beam, aligned with the original structural mounting points, and secured using the specified hardware.
The bumper beam is reinstalled over the hitch and all fasteners are tightened with calibrated torque tools to manufacturer specifications. A small fascia trim may be made when required for receiver clearance.
6. Reassembly and Final Fitment
The bumper cover, mud flaps when equipped, taillights, trim, and retained fasteners are carefully reinstalled.
The finished hitch is inspected for secure mounting, receiver clearance, panel alignment, lighting operation, and a clean integrated appearance.