
Professional Installation
Convenient Service
Trailer Hitches
Bike Racks
Running Boards
Roof Rails

Honda CR-V (2017–Present) Flat-4 Wiring Installation
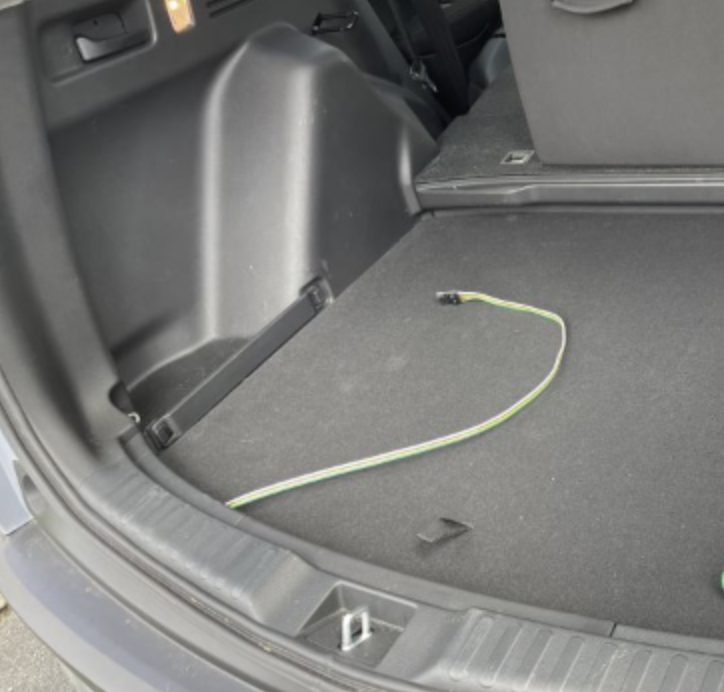
When equipped with Honda’s factory tow-prep connector, the CR-V accepts a vehicle-specific plug-and-play harness without cutting or splicing factory wiring. Cargo flooring, scuff trim, and rear interior panels are carefully removed to reach the concealed connector. The module is secured, the harness is tested, and every panel and fastener is restored to factory fitment.
Installation Time: Up to 45 minutes
Ready to Get Your Vehicle Set Up?
Skip the shop. Skip the wait.
Get your vehicle ready for lake days, mountain weekends, and family adventures — with professional installation completed at your home.
1. Preparing the Rear Cargo Area
The cargo floor and removable storage pieces are taken out carefully to expose the CR-V’s rear interior trim. Fasteners and panels are organized so everything can be restored to its original fit.
2. Removing Interior Trim for Connector Access
The rear scuff trim and necessary side panels are loosened or removed using trim-safe tools. This provides controlled access to the concealed factory tow-prep connector without damaging clips or finished surfaces.
3. Connecting the Vehicle-Specific Harness
The plug-and-play harness is connected at Honda’s factory tow-prep point, so no cutting or splicing of the vehicle wiring is required. Connections are seated fully and positioned away from sharp edges and moving trim.
4. Securing the Converter and Harness
The converter module and excess wiring are secured in protected locations inside the cargo area. The flat-4 lead is routed for convenient use while remaining safely stored when a trailer is not connected.
5. Testing and Restoring the Interior
Brake lights, running lights, turn signals, and ground operation are tested at the connector. Once correct function is confirmed, every panel, fastener, cargo-floor piece, and storage component is restored to factory fitment.