
Professional Installation
Convenient Service
Trailer Hitches
Bike Racks
Running Boards
Roof Rails

Hyundai Santa Fe (2024–Present) Flat-4 Wiring Installation
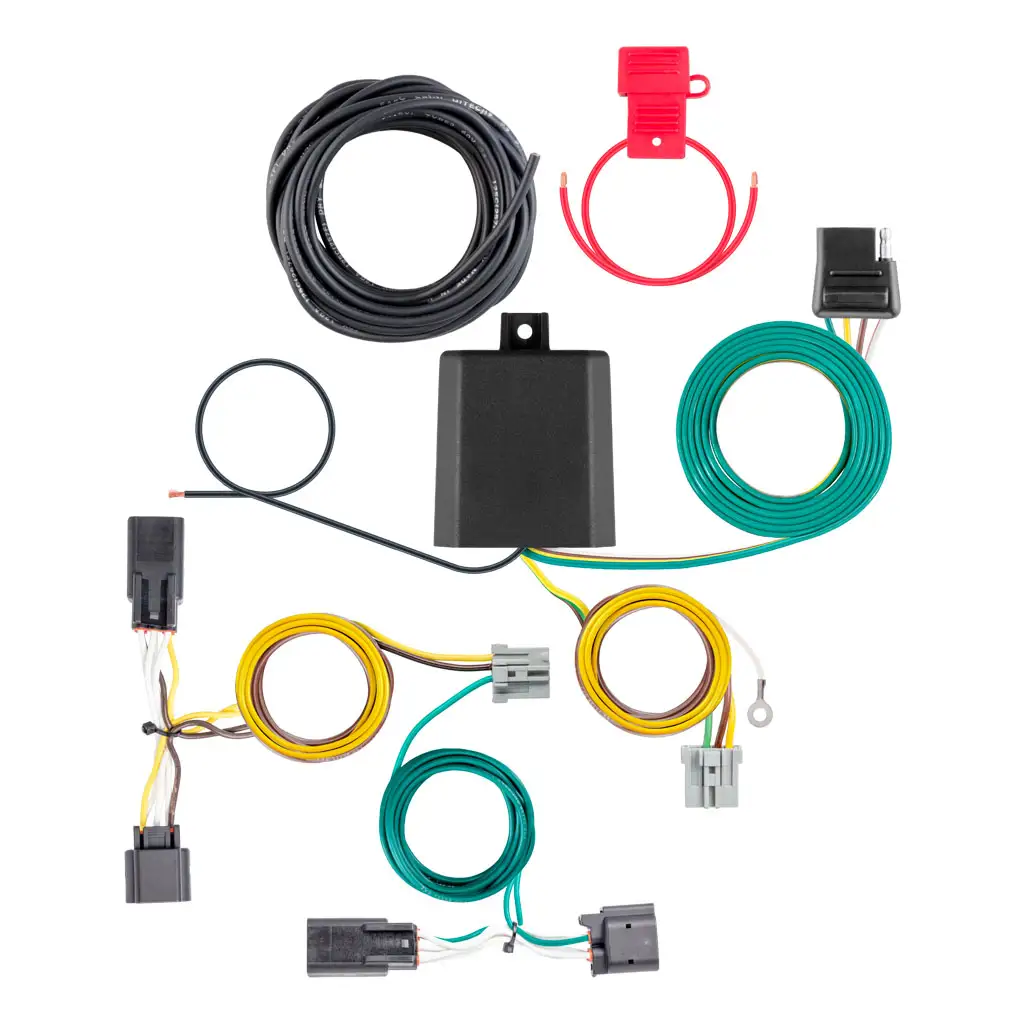
The redesigned 2024–Present Santa Fe uses vehicle-specific connections inside the rear liftgate with a powered converter in the driver-side cargo area and a dedicated battery lead. We protect the interior, access and connect both liftgate lighting circuits, route the harness through the factory weather boot, establish protected ground and power connections, test every lighting circuit, and carefully restore all trim.
Vehicle Coverage: 2024–Present Hyundai Santa Fe
Connection: Vehicle-specific liftgate taillight connectors
Output: 4-Way Flat
Installation Time: Up to 2 hours
Ready to Get Your Vehicle Set Up?
Skip the shop. Skip the wait.
Get your vehicle ready for lake days, mountain weekends, and family adventures — with professional installation completed at your home.
1. Disconnecting Power and Preparing the Cargo Area
The negative battery cable is disconnected and isolated before electrical work begins. The cargo-floor coverings, rear threshold, headliner trim, and driver-side cargo trim are removed carefully to protect the panels and expose the planned module location.
2. Opening the Liftgate and Taillight Connections
The upper hinge trim, liftgate glass trim, and main liftgate panel are removed without damaging their retaining tabs. The hatch switch is disconnected safely, and the factory taillight connectors at both liftgate corners are opened.
3. Installing and Routing Both Taillight Connectors
The yellow-wire branch is connected at the driver-side taillight circuit, and the green-wire branch is routed through the liftgate structure to the passenger-side circuit. Both vehicle-specific connections are seated fully and the harness is secured alongside the factory liftgate wiring.
4. Passing the Weather Boot and Supplying Module Power
The harness is guided through the driver-side liftgate weather boot without pinching or abrading the wiring, then routed behind the headliner into the cargo area. The converter is mounted securely, the ground is attached to clean vehicle metal, and protected 12-gauge battery power is routed away from heat, movement, and sharp edges.
5. Positioning the 4-Flat, Testing, and Reassembly
The 4-flat is positioned in the rear cargo area for protected storage when not in use, and all loose wiring is secured. Running lights, brake lights, both turn signals, and ground integrity are tested before the battery connection, weather boot, liftgate panels, headliner trim, threshold, and cargo coverings are restored.