
Professional Installation
Convenient Service
Trailer Hitches
Bike Racks
Running Boards
Roof Rails

2018–Present Jeep Wrangler JL Hitch Installation
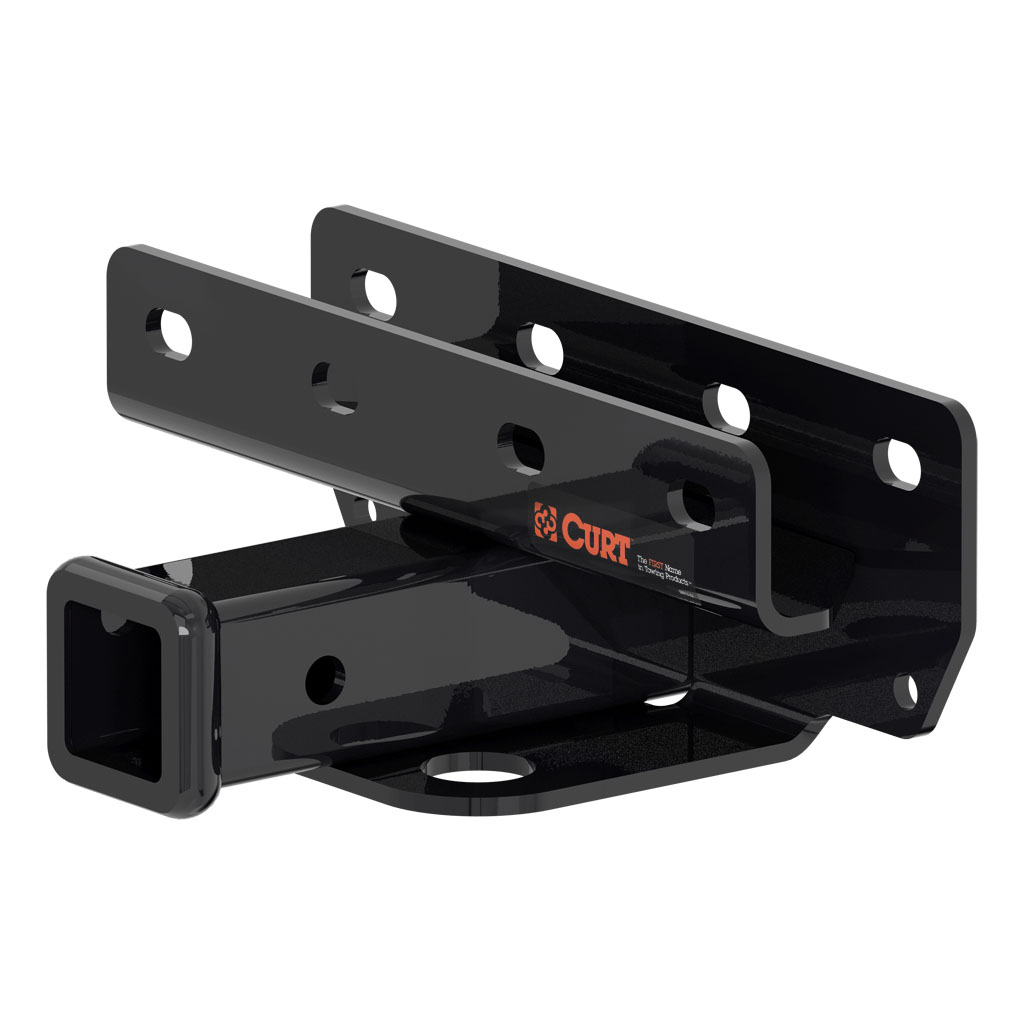
Receiver: 2-inch Class 3
Fitment: 2018–present Wrangler JL, with receiver design selected for diesel or non-diesel configuration
Published hitch rating: Varies by engine-specific receiver; the Jeep’s rated capacity may be lower
Installation includes: Crossmember inspection, exhaust support when required, controlled hole alignment, application-specific hardware, torque verification, reassembly, and accessory-clearance inspection
Important: Vehicle configuration and the owner’s manual determine the usable towing limit
The Wrangler JL receiver fits over the rear crossmember behind the bumper. Non-diesel and EcoDiesel models use different hitch geometry, but both installations rely on the crossmember’s existing holes and high-strength through-bolts. EcoDiesel models require controlled lowering of the DEF tank for access.
1. Confirming JL Body Style and Engine Configuration
Jeep sold both JK and JL Wranglers as 2018 models, so the taillights, rear crossmember, and body style are verified before installation. The engine configuration is also confirmed because EcoDiesel models require a receiver shaped around the DEF system.
2. Creating Access on Non-Diesel Models
The rear muffler is released from its rubber hanger and supported below the crossmember. This provides room to slide the hitch over the bumper beam and access the through-bolt locations without loading the exhaust system.
3. Lowering the DEF Tank on EcoDiesel Models
The two rear M10 tank-mount bolts are removed and the two front M8 nuts are loosened without being taken off completely. The tank is supported and lowered only enough for the hitch and fasteners to pass above it. The fuel-system components and filler connections remain undisturbed.
4. Positioning the Receiver over the Rear Crossmember
The hitch is placed over the bumper beam and aligned with the crossmember holes. On vehicles with a factory plate and welded nuts, the hitch slides between that bracket and the mounting tube before the original hardware is restored. Some crossmember holes require controlled enlargement so the half-inch fasteners pass straight through rather than being forced at an angle.
5. Installing and Torquing the Through-Bolts
Four grade-eight bolts pass through the hitch and crossmember, with the flange nuts positioned on the exterior side. The fasteners are tightened evenly and torqued to 110 lb-ft. On EcoDiesel models, the DEF tank is then raised and the rear M10 bolts are tightened to 51 lb-ft while the front M8 nuts are tightened to 25.5 lb-ft.
6. Restoring Components and Checking Accessory Clearance
The exhaust hanger or DEF tank is returned to its original position. We then check receiver centering, bumper clearance, safety-chain access, exhaust or tank clearance, and space for the customer’s intended ball mount, bike rack, or cargo carrier.