
Professional Installation
Convenient Service
Trailer Hitches
Bike Racks
Running Boards
Roof Rails

Nissan Frontier (2017–Present) Flat-4 Wiring Installation
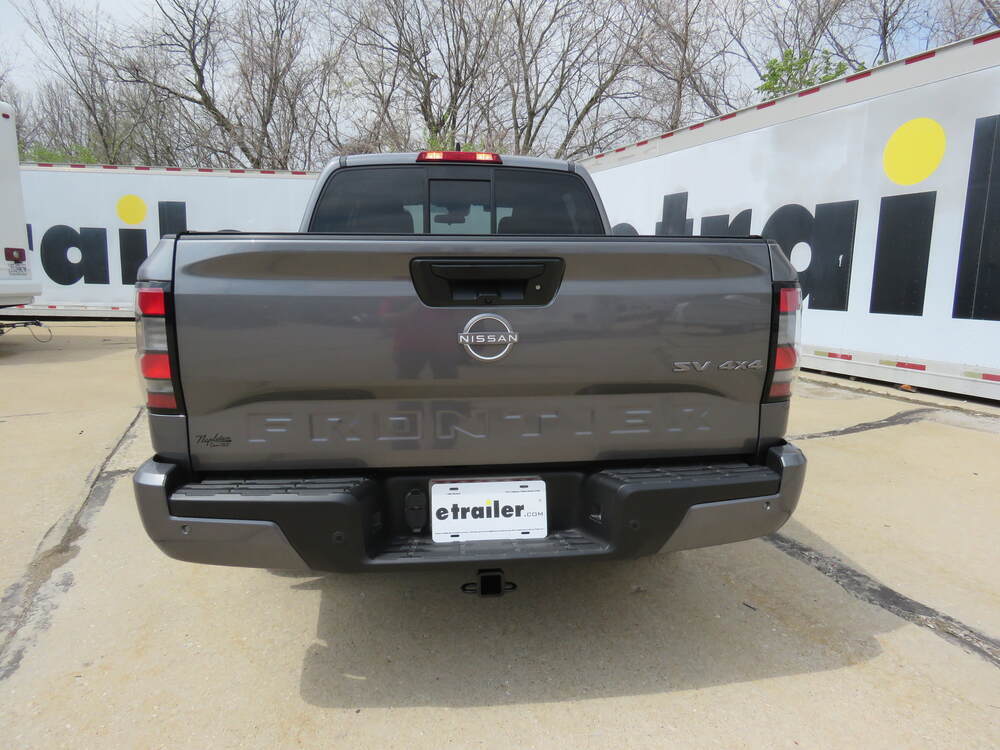
Vehicle Coverage: 2017–Present Nissan Frontier; exact trim and tow-package fitment are verified before scheduling
Output: 4-way flat trailer-light connector
Connection Method: Vehicle-specific plug-in connections; no factory lamp wires cut
Finished Connector Location: Mounted outside the vehicle at the hitch, behind the rear bumper when not in use.
Installation Time: Typically 1–1.5 hours
Connector Location: Mounted outside the vehicle at the hitch, behind the rear bumper when not in use.
The Frontier uses Nissan’s factory tow-wiring provisions. We verify that the required relay circuitry is present, connect the vehicle-specific harness at the factory rear tow plug, and finish the flat-4 outside at the receiver.
1. Verifying the Tow-Wiring Provisions
The truck’s factory tow connector and relay configuration are checked before installation so the trailer-light output will be complete and reliable.
2. Accessing the Factory Rear Connector
The protected tow plug is located along the driver-side frame rail behind the rear bumper and its cap is removed without damaging the locking tabs.
3. Installing the Plug-In Flat-4
The vehicle-specific connector is seated in the factory tow plug and the locking tab is checked for full engagement; no factory lighting wires are cut.
4. Routing and Securing the Exterior Lead
The flat-4 is routed toward the center of the hitch, kept away from the exhaust and sharp edges, and secured so it cannot drag or contact the spare tire.
5. Testing Every Trailer-Light Function
Running lights, brake lights, left turn, right turn, and ground integrity are tested at the finished connector before the dust cover is installed.
Why Location Matters: The connector is finished where the vehicle-specific harness is designed to keep it protected, accessible, and clear of exhaust heat or moving components.