
Professional Installation
Convenient Service
Trailer Hitches
Bike Racks
Running Boards
Roof Rails

Toyota RAV4 (2019–Present) Hitch Installation
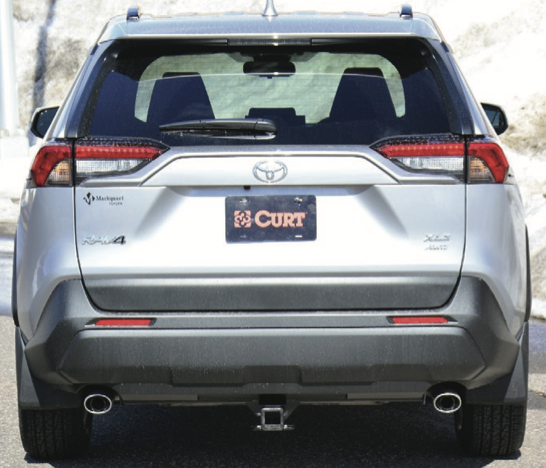
The RAV4 hitch mounts to factory weldnuts after protective frame coverings and any interfering tie-down bracket are removed. Tight passenger-side clearance makes careful positioning essential as two installers raise and align the hitch. All hardware is torqued to specification and exhaust, heat-shield, and fascia clearances are verified.
Towing Capacity: 4,500 lbs
Tongue Weight: 675 lbs
Installation Time: Up to 1 hour
Ready to Get Your Vehicle Set Up?
Skip the shop. Skip the wait.
Get your vehicle ready for lake days, mountain weekends, and family adventures — with professional installation completed at your home.
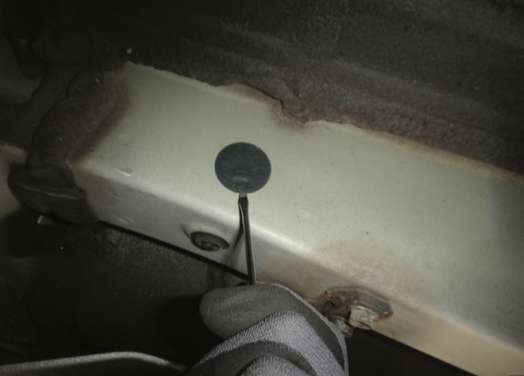
1. Preparing the Factory Mounting Points
Toyota protects the rear frame weld-nuts with adhesive coverings to prevent corrosion. We begin by removing these coverings to expose the threaded attachment points.
Clean, unobstructed threads ensure proper hardware engagement and long-term durability.
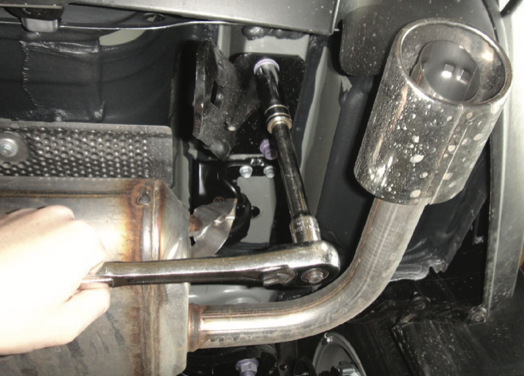
2. Passenger-Side Clearance & Tie-Down Removal
Some RAV4 models are equipped with a factory tie-down bracket on the passenger-side frame rail. When present, this bracket must be removed so the hitch can sit flush against the frame; it is returned to the customer afterward.
Passenger-side clearance is extremely tight, leaving barely enough room for the mounting bolt and an installer’s hand. In some cases, slightly lowering the exhaust improves access.
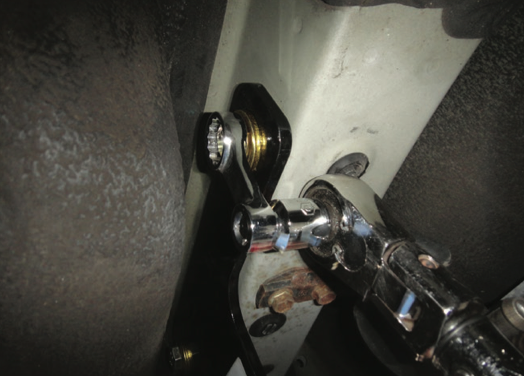
3. Hitch Positioning & Hardware Installation
With both installers supporting the hitch, it is raised into position and aligned with the factory weld-nuts.
All supplied M12 bolts and conical-toothed washers are installed loosely first so the hitch can seat evenly against both frame rails. Careful alignment protects the threads and prevents uneven loading.
4. Precision Torque & Clearance Verification
Once the hitch is aligned, all mounting hardware is torqued to manufacturer specifications.
We verify proper exhaust clearance, confirm there is no contact with heat shields, and check for interference points that could create vibration or rattling. If needed, the heat shield is carefully repositioned to maintain clearance.
Why Professional Installation Matters
Although the instruction sheet is brief, this installation is deceptively demanding. Tight frame access, limited working room, and structural torque requirements leave little margin for error.
Correct installation provides a clean frame-mounted fit, proper load distribution, freedom from vibration and rattling, factory-level reliability, and full professional warranty coverage.